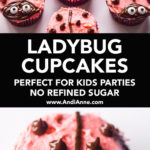

Ladybug cupcakes are chocolate with buttercream frosting. They have no refined sugar and the buttercream is made without using powdered sugar (yay!). These cupcakes are sweetened with coconut sugar and maple syrup.
Ready for the cutest chocolate ladybug cupcakes with buttercream icing and no refined sugar!? These cupcakes are adorable AND incredibly delicious. It’s the best of both worlds. Yes, they’re great for kids parties, but I promise you’ll be eating them too.

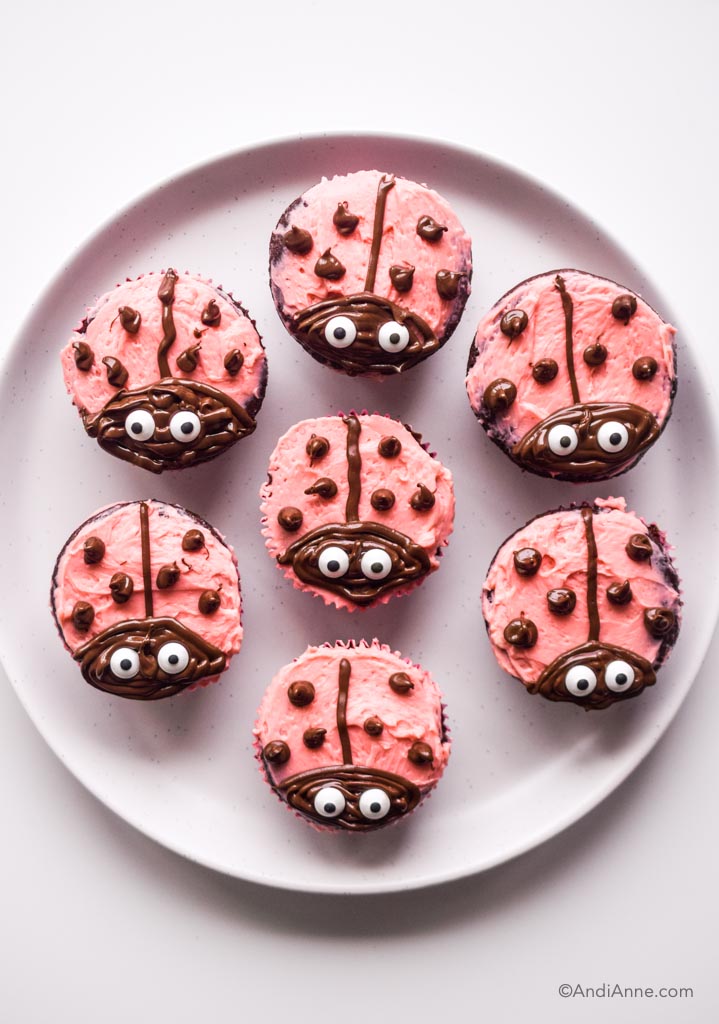
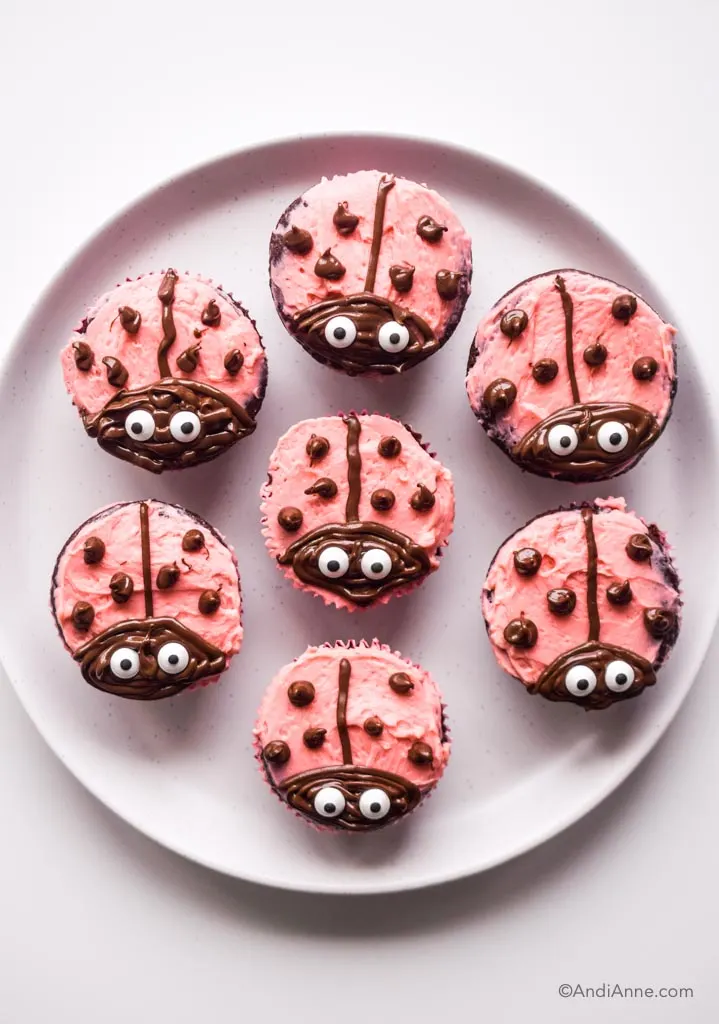
Ladybug Cupcakes
I am always testing out recipes for healthier alternatives to the traditional baking we all know and love. As a mom, I’m sure you know how hard it is to limit your kid’s sugar intake. It’s everywhere. And it’s hard to keep track of.
Well I finally figured out the perfect recipe for chocolatey cupcakes with no refined sugar – they use coconut sugar instead. AND a buttercream frosting that isn’t too sweet and is made WITHOUT powdered sugar! Yes, my friends you can make this popular icing without powdered sugar. I feel like throwing confetti here because I’ve avoided buttercream icing since my daughter was born just for this reason.
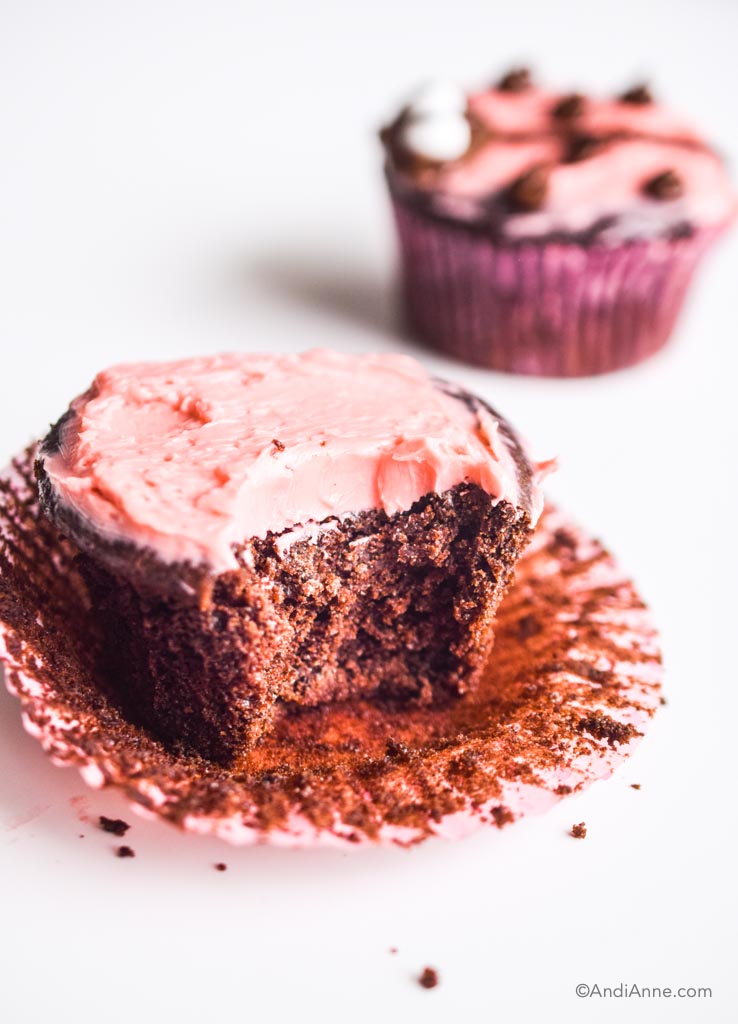
What Do The Ladybug Cupcakes Taste Like?
They are chocolatey and have a perfect crumble. The icing is creamy. Combine that with dark chocolate from the ladybug cupcake design – it’s just sooo yummy my friends. Not overly sweet like many store-bought cupcakes tend to be. Just the perfect amount.
There’s No Refined Sugar
Yes! You heard me right. No white refined sugar is needed for these ladybug cupcakes which, in my opinion, tastes waaaay too sweet. Instead were adding coconut sugar to the chocolate cupcake to add a more natural flavor. And I’m using maple syrup to sweeten the buttercream frosting.
The Icing – This recipe is my new favorite. No seriously! I am NOT a fan of powdered sugar. It’s way too sweet and it’s a refined sugar that I’d prefer to keep out of my baking. Unfortunately, it is used in almost every icing recipe you’ll find online. I’ve always wanted to create a healthier version and now it’s finally here! Make sure you save this recipe because you’re going to want to use it for future celebrations.
Note: I should point out that the candy eyeballs do have refined sugar in them. But they’re small, and you don’t have to use them if you prefer.
These Ladybug Cupcakes Are Easy To Make (I Promise)
These are the PERFECT cupcakes to bring to your kids school, or for a picnic birthday party. And if you feel like you have no creativity, fear not, these are easy. I’ll walk you through everything in the video below so you know exactly how to make them.
I’m a big believer that things should look imperfect. It takes the pressure off. We’re not trying to be professional bakers here. We’re just trying to have a bit of fun with our family celebrations! So let the icing be a bit messy, the ladybug designs be a little uneven – this is way better than the stress of making it all look perfect.

Chocolate Cupcake Ingredients
Pastry Flour – I prefer to use pastry flour over regular flour for this recipe as it will make the ladybug cupcakes really light and fluffy. However, you can also use regular white flour.
Cacao Powder – Cacao powder is healthier than cocoa powder. Yes, they look the same but they’re actually not. Cacao powder can be a healthier substitute for your baking recipes. It’s a source of protein, magnesium, iron, potassium, and fiber.
Cacao powder can also be harder to find. I’m able to find it in the “health foods” section of my grocery store. However, I realize this isn’t always the case for everywhere. You can substitute for unsweetened cocoa powder which can usually be found at most grocery stores in the “baking” section. If possible, choose an unsweetened cocoa powder.
Coconut Sugar – Coconut sugar adds such a nice sweetness to these cupcakes that won’t overpower them. I’m able to find coconut sugar in the health foods section of my grocery store. If you can’t find it locally you can also purchase online here.
Unsalted Butter – You’ll want the butter to be room temperature and soft. If you normally keep butter in the fridge, leave it out the night before.
All The Other Goodies – You’ll also need baking powder, baking soda, eggs, milk and vanilla extract to make the cupcakes.
Ladybug Icing Ingredients (No Refined Sugar)
Arrowroot Powder – To make the icing sugar without powdered sugar, you’ll need one secret ingredient – arrowroot powder! This is a gluten free powder that can be used as a thickening agent for sauces and puddings. It can also be used as a gluten free substitute for whole wheat flour in baking.
Softened Butter – You’ll need more unsalted butter that has been softened and is at room temperature.
Maple Syrup – this will add the sweetness to the icing that would normally be done with powdered sugar. Maple syrup has a lovely flavor to it and can add a more natural sweetness. Be sure to use all natural maple syrup and not an artificial version.
Vanilla Extract – a hint of vanilla extract is added for additional flavoring.
Red Food Coloring – I used food coloring, but you could also use beetroot powder. This is an all-natural powder that has a pink hue to it and can be used in baking to turn icing a light pink shade.
How To Make Ladybug Cupcakes
- Dry Ingredients – Add the pastry flour, cacao powder, baking powder, and baking soda to a bowl and whisk together.
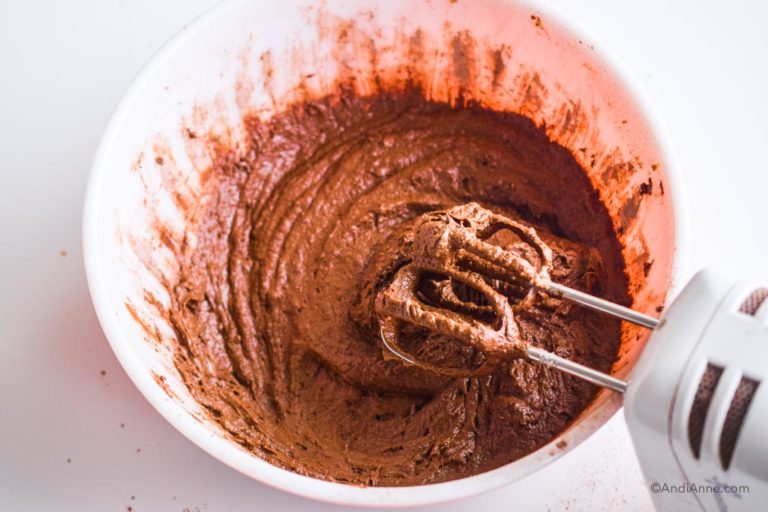
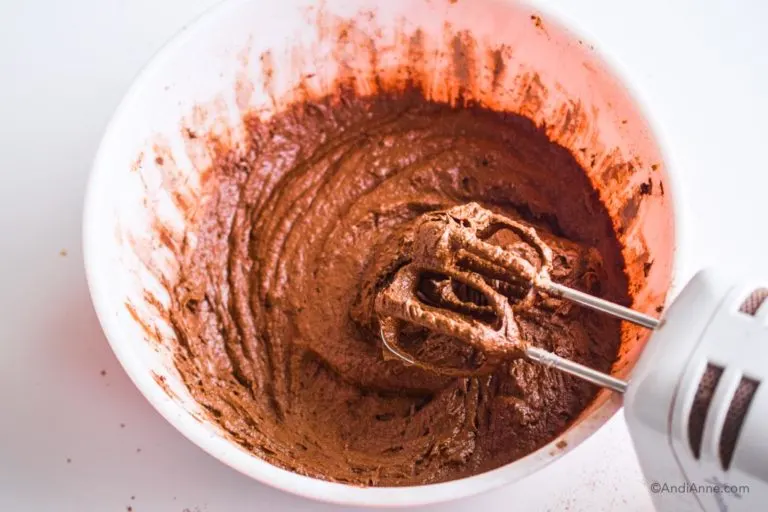
- Wet Ingredients – In a separate bowl, cream the butter and coconut sugar with an electric mixer. Add in eggs, one at a time, milk, and vanilla.
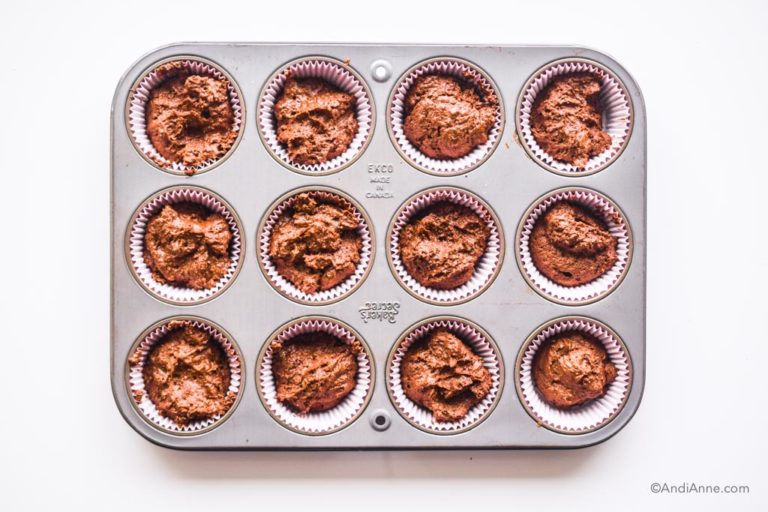
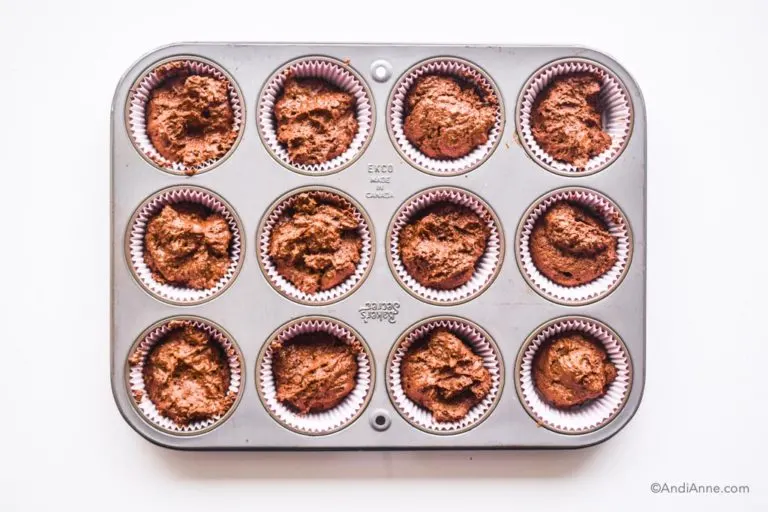
- Mix together – Add the dry ingredients to the wet ingredients and mix into a batter. Spoon into cupcake liners 3/4 full for each one.
- Bake – Bake at 325°F for 20-22 minutes, or until a toothpick comes out clean when poked in the center. Let cool completely before moving on to the next step.
- Icing – Add softened butter, arrowroot powder, maple syrup, vanilla extract, and 5-10 drops of red food coloring to a bowl with an electric mixer. Mix for 2-3 minutes or until smooth and creamy.
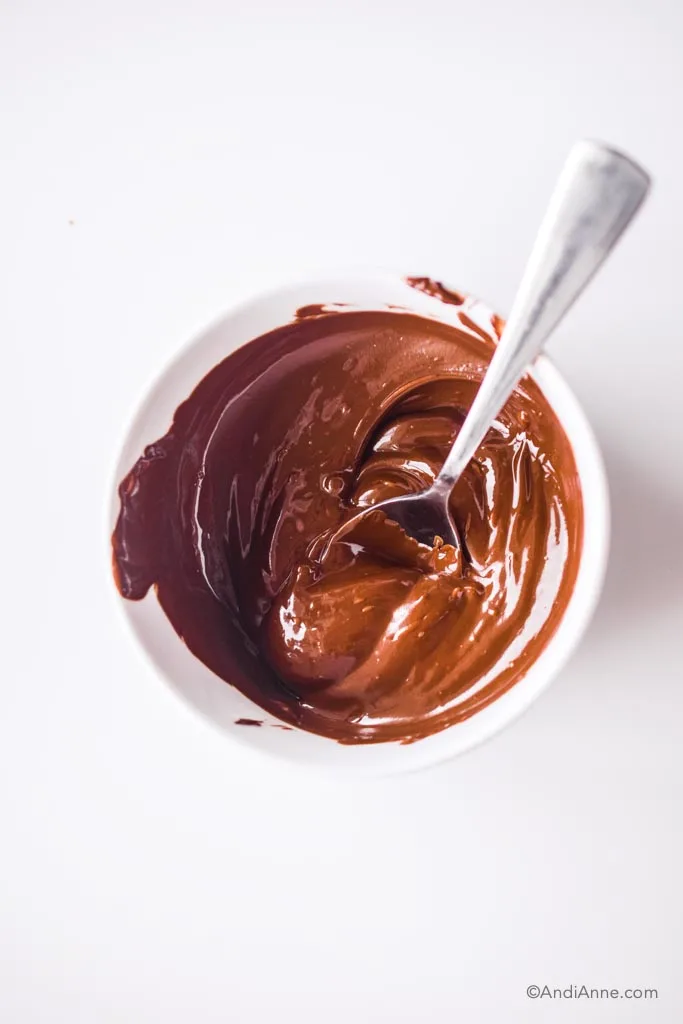
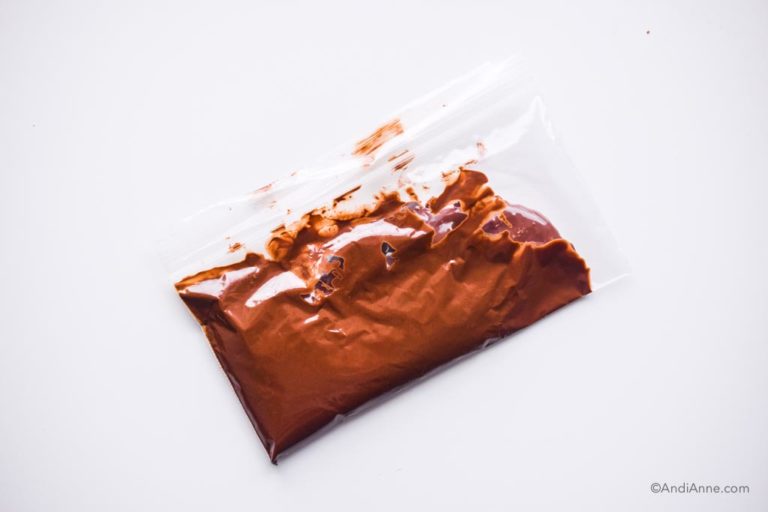
- Melted Chocolate – In a microwave-safe bowl, melt dark chocolate chips. Add the melted chocolate to a sandwich bag with a spatula. Seal the top tightly and snip a tiny piece of the bottom corner off.
- Decorate – Use the melted chocolate to draw and decorate the ladybug design.


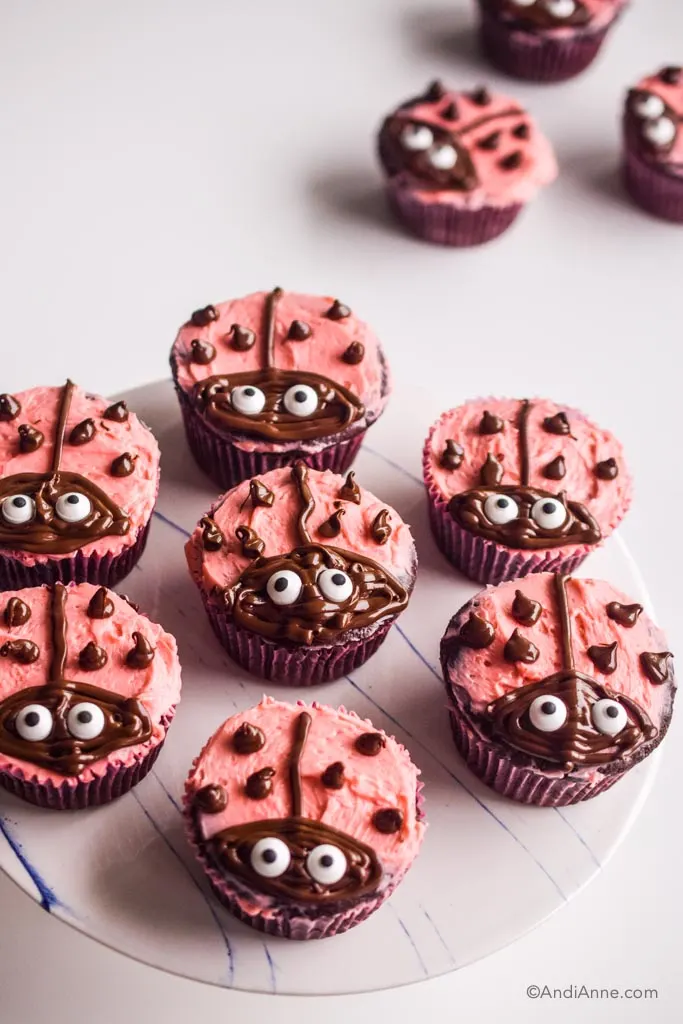
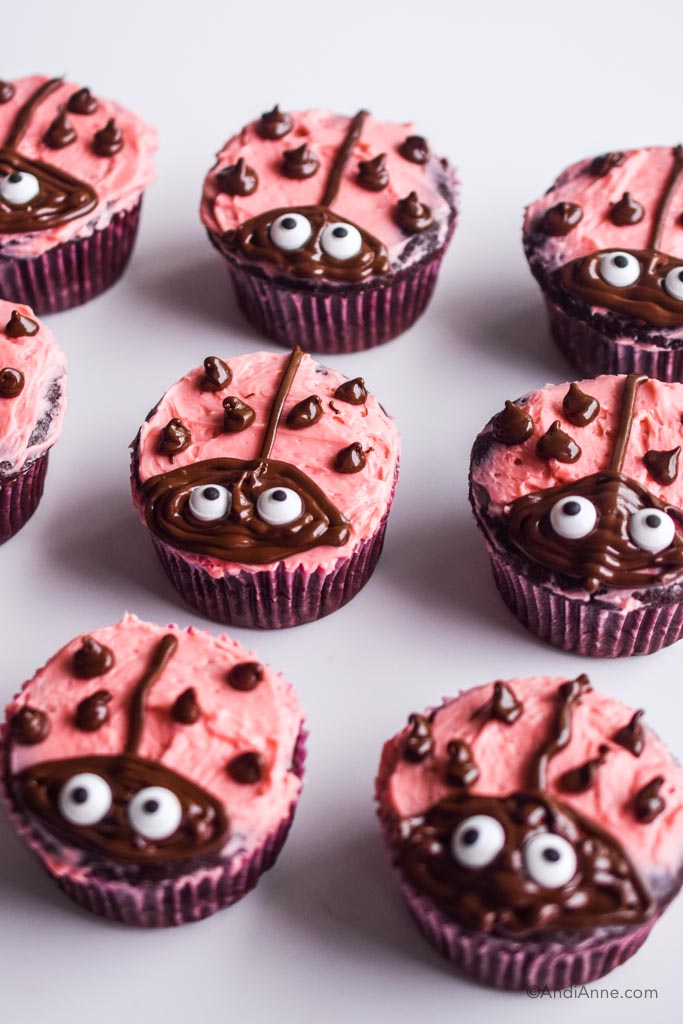
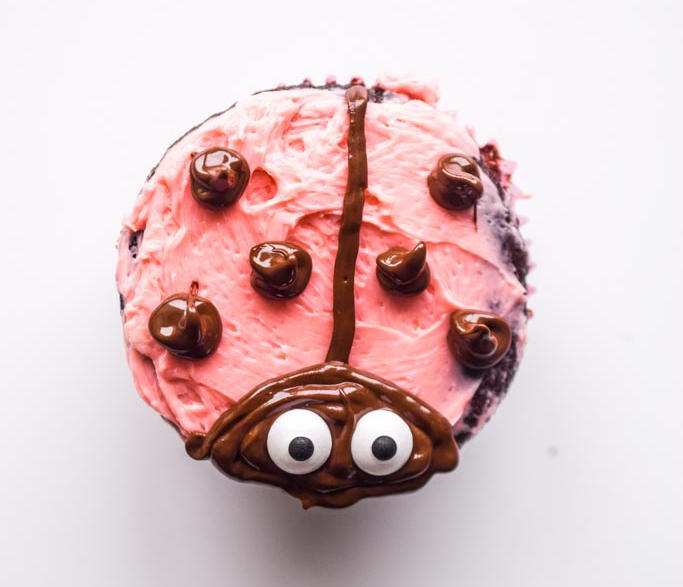
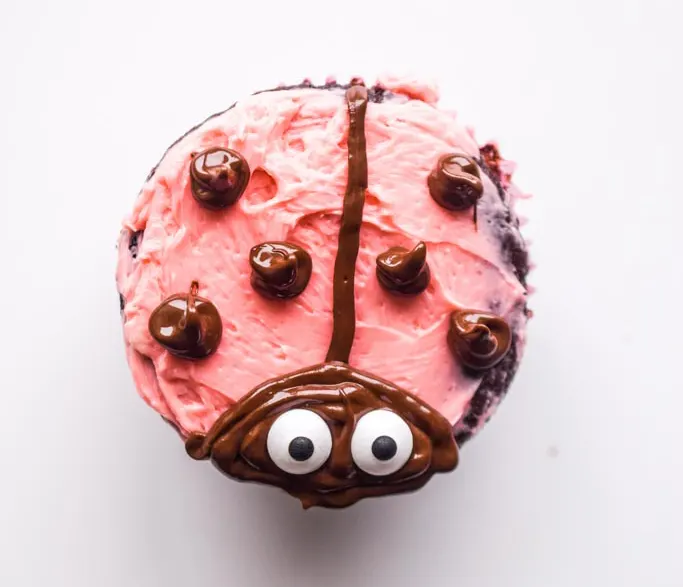
How To Decorate The Ladybug Cupcakes
Here are the steps to creating the ladybug design. I also go over it in the how-to video so be sure to watch that.
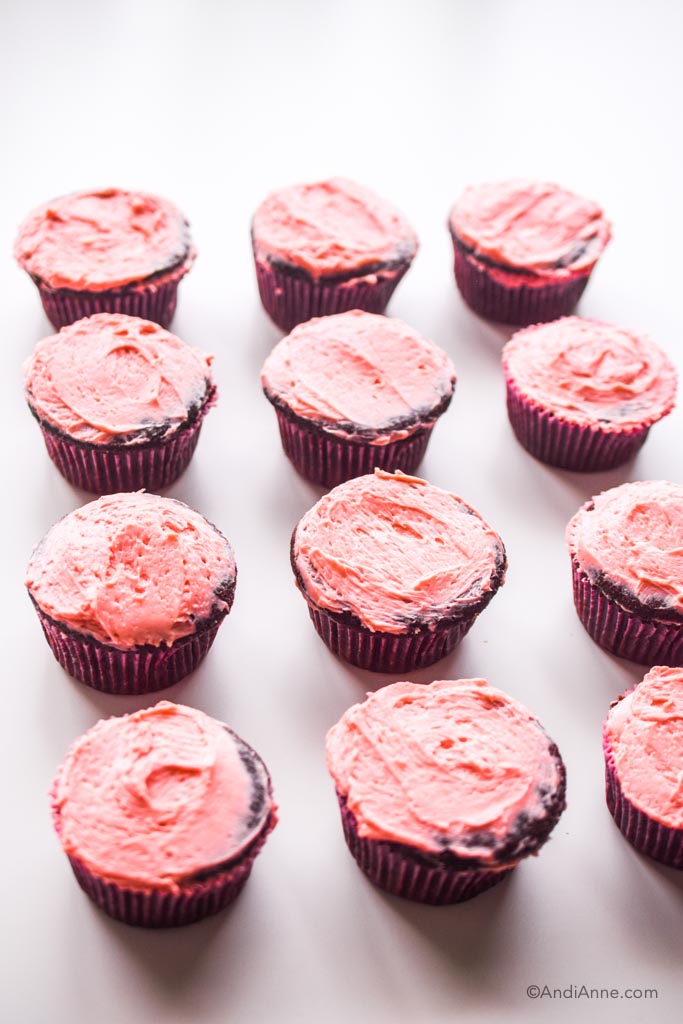
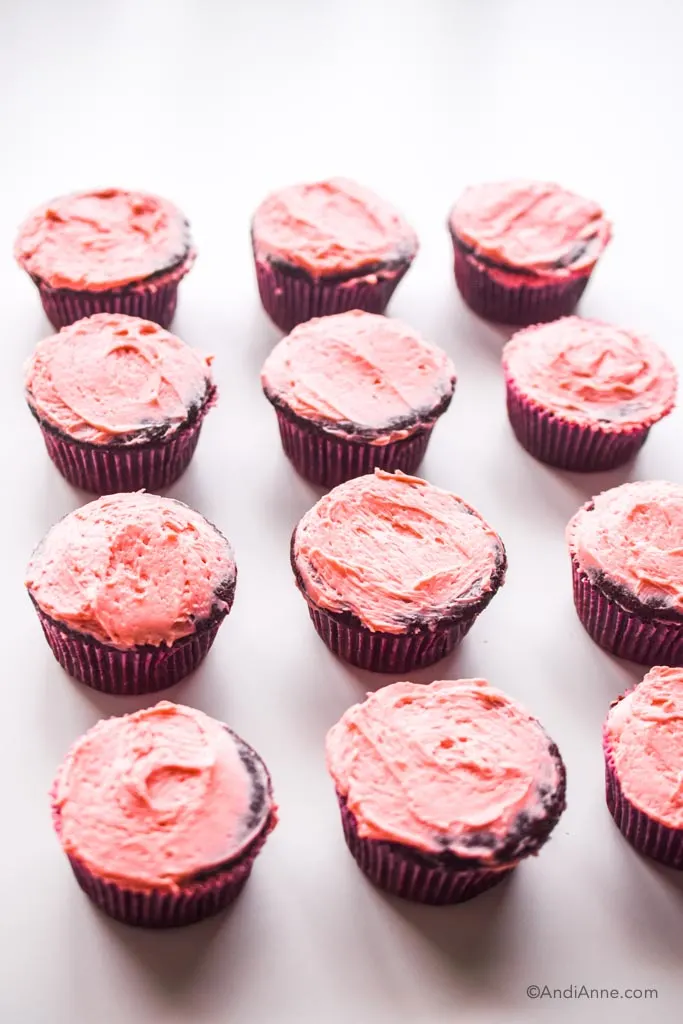
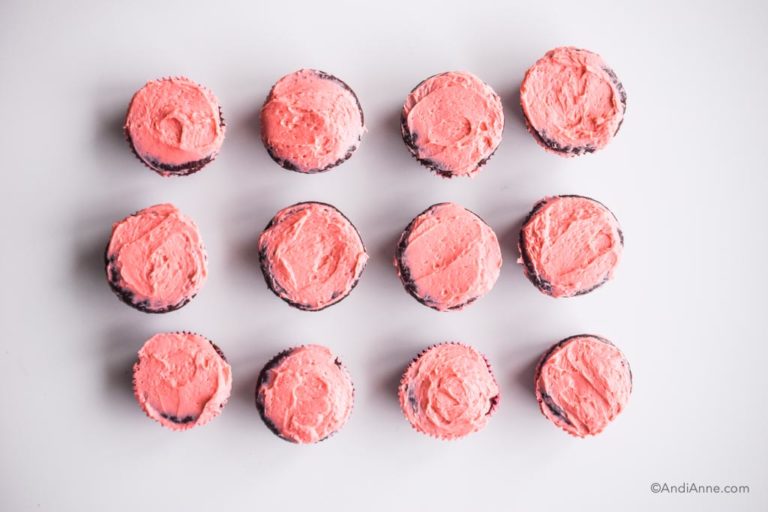
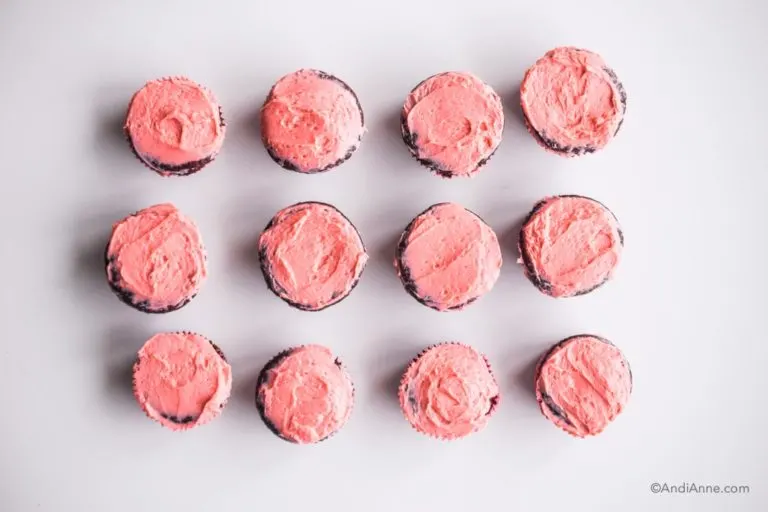
- Spread the pink icing over the cupcakes. I like to do two layers – one layer over all the cupcakes, then followed by another layer.
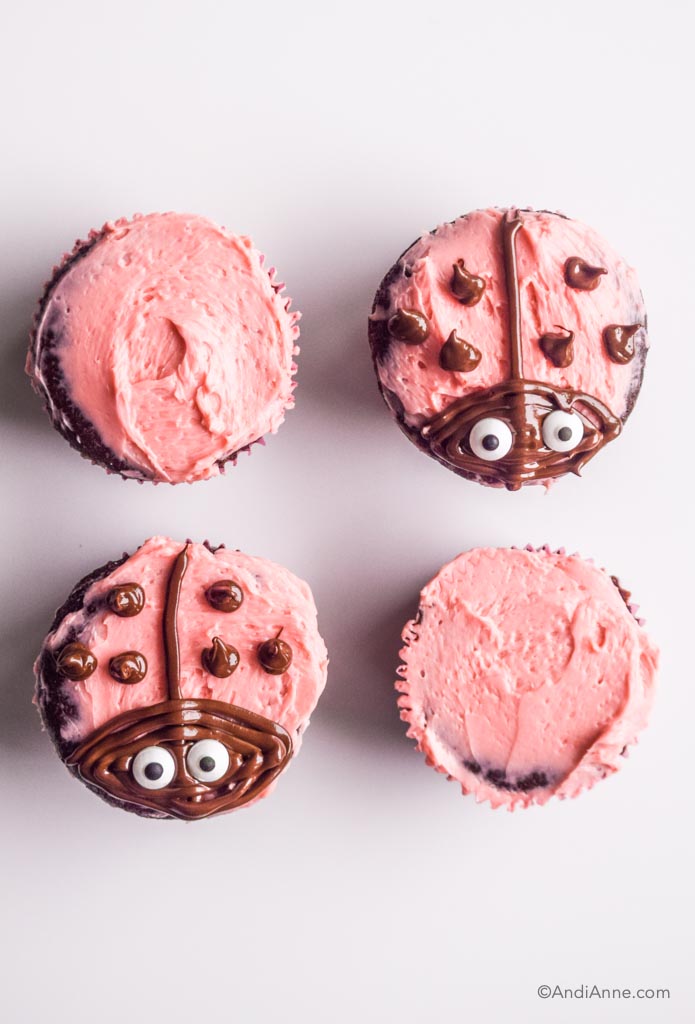
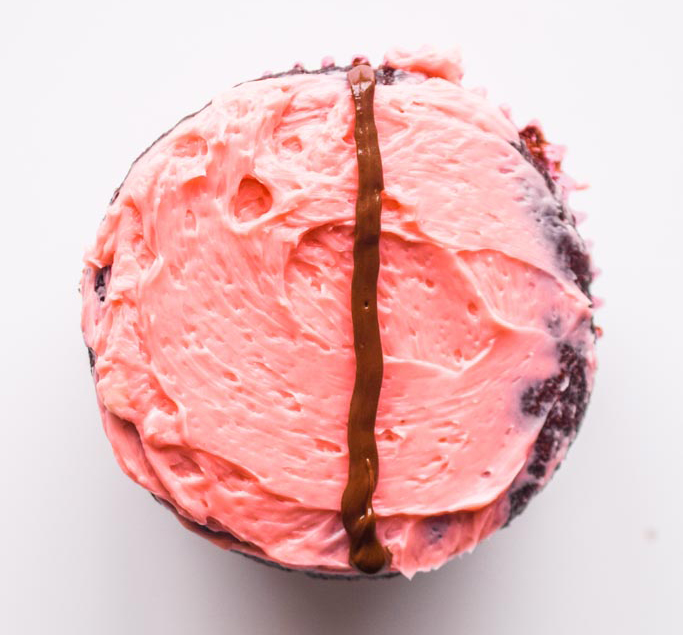
- Using the melted chocolate inside the plastic bag, draw a line down the center of the cupcake.
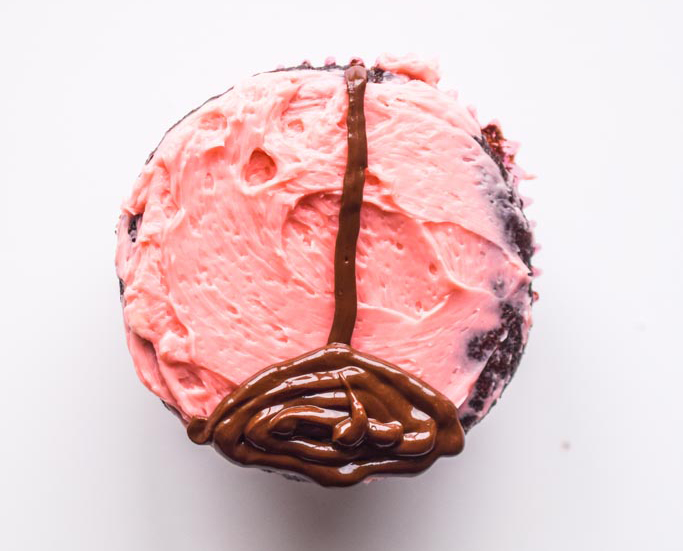
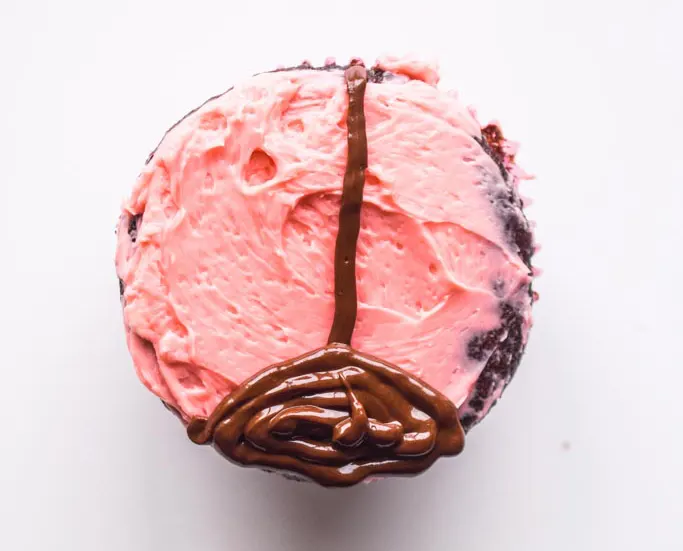
- Draw a half-circle at the bottom and fill it in with chocolate. This will be the ladybug’s head.
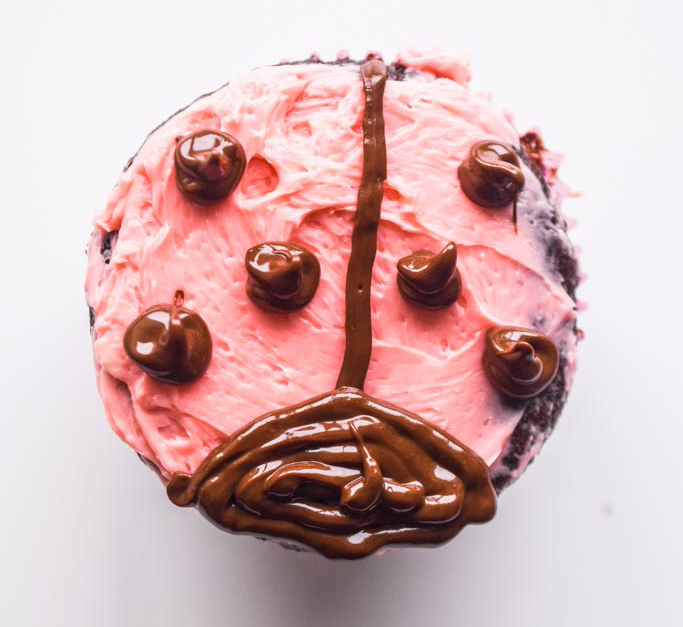
- Make dots of chocolate to resemble the ladybug spots.
- Add two candy eyeballs to the bottom.
- Ta-da! You’re done.

Ladybug Cupcakes Tips and Tricks
- Cupcakes must be completely cooled before moving on to decorating. This will take 45-60 minutes. You can speed up the process by adding the cupcakes to the fridge after they’ve had a chance to cool on the counter for 15-20 minutes first.
- Cream the icing longer than normal. It took about 3 minutes for my icing to turn creamy and smooth. Be patient – it’s worth it.
- Use 70% dark chocolate chips. Dark chocolate has no added sugar. Choose chocolate that is 70%-80% dark for the healthiest option.
- The candy eyeballs might bleed black color if on too long. I noticed after storing my cupcakes in the fridge for 2 days that the candy eyeballs started to bleed. I would recommend adding them to the cupcakes on the same day that you plan to serve to avoid this.
More Sweet Recipes
- Homemade Oreos With Cream Cheese Icing – basically heaven in a cookie… they’re totally addictive and worth making from scratch.
- Healthy Banana Splits – healthy and totally delicious. Eat them for breakfast or a fun snack.
- Fast and Easy Fudgy Brownies From Scratch – no-fuss brownies with no fancy ingredients. They’re a classic, chewy brownie loaded with chocolate chips on top.
- Chocolate Avocado Pudding – smooth, rich and creamy. It’s the perfect way to enjoy a dessert, but still eat healthy.
Ladybug Cupcakes
Ingredients
- 1 cup pastry flour
- ½ cup cacao powder - unsweetened
- 1 tsp baking powder
- ½ tsp baking soda
- 1 cup unsalted butter - room temperature
- 1 cup coconut sugar
- 2 eggs
- 1 cup milk - dairy or non dairy
- 1 tsp vanilla extract
Icing Ingredients:
- 1 cup unsalted butter - room temperature
- ⅓ cup maple syrup
- 2 Tbsp arrowroot powder
- 1 tsp vanilla extract
- 10 drops red food coloring - or beetroot powder
- ½ cup semi-sweet chocolate chips
- 32 candy eyeballs
Instructions
- Preheat the oven to 325°F. Add paper liners to the muffin pan.
- In a medium bowl, combine the pastry flour, cacao powder, baking powder, and baking soda. Whisk together and set aside.
- In a large bowl, add the softened butter, and coconut sugar. Use an electric mixer to blend the two together. Add the eggs, one at a time and mix. Add milk and vanilla extract and mix together again.
- Pour half of the dry ingredients into the wet ingredients and mix until just combined. Repeat with the rest of the flour.
- Scoop the chocolate batter into the muffin pan about 3/4 full for each one. Bake for 20-22 minutes or until a toothpick comes out clean when poked through the center. Let cool completely before moving on to the next step.
Icing Instructions:
- In a medium bowl, add softened butter, maple syrup, arrowroot powder, and vanilla extract. Use an electric mixer to mix until smooth and creamy. This will take 2-3 minutes.


- Spread the icing onto each cooled cupcake.
- Melt ½ cup dark chocolate chips in the microwave in 20 second intervals. Stir between each one until chocolate chips are fully melted (mine took 60 seconds)

- Scoop the melted chocolate into a plastic sandwich bag. Seal the bag tightly and then snip off a small piece of one of the corners. Use this to create the ladybug design.

- Draw a line of the chocoalte down the center (don't worry if it's not perfect, mine weren't either)

- Draw a half circle at the bottom to make the head shape. Fill in with more chocolate.
- Draw the lady bug spots.

- Place the candy eyeballs on the chocolate while it's still melted.
- These cupcakes are best served on the same day. However you can make them the night before and store them in the fridge for the next day too. I've kept mine in the fridge for 3 days and they still taste great.
Nutrition
The nutritional information provided is an estimate and is per serving.